How many times have you taken a would-be great photo of your dog, only to find out it’s blurry?
It’s so disappointing to find that you’ve missed the precious moment that you wanted to capture. Your dog did something cute and adorable; and now the moment is gone.
Over the years I have taken many blurry photos. I used to have hundreds of photos on my iPhone, but few had turned out the way I wanted them to. It was at that point that I started my journey to learn how to capture great shots of my dogs. I wanted to build a library of awesome photos that I could look back on for years to come, when my pups are no longer with me.
Blur can ruin a photograph of your dog. Knowing what causes it will help you avoid taking blurry photos of your pup.
Today I will share with you the 4 reasons why you’re taking blurry photos, and some simple and easy tips to fix them.
Reason 1: Camera Shake
Camera shake is caused when your iPhone camera is moved whilst the photo is being taken.
An iPhone camera takes a photo by opening and closing the shutter. If anything in the frame moves in the time the shutter is open, the movements results in blurry photos. When there is alot of light (outside on a sunny day), the shutter only stays open for a very short period of time, and so camera shake isn’t much of a worry. But when there’s less light, (indoors or in low light), the shutter stays open for longer, and any movement of your iPhone can be a problem.
Simple Solution:
Keep Your iPhone Steady.
- Use a table, railing, rock, fence (or anything stable) to rest your arms, and or, elbows, and support your hands. You could even lean against a wall.
- Support your elbows by keeping them tight against your torso, or crouch down and support your phone on your knees.
- Use the on-screen button, or the volume button on the your white Apple earbuds, to take the photo to reduce movement of your phone. The volume buttons on the side of your phone have to be pressed quite hard, and so to reduce camera shake in low light, avoid using them to take your photo.
- Use a tripod to help keep your iPhone stable.
Take Multiple Photos.
- It is also helpful to take multiple photos. Camera shake can be very unpredictable, and so you might find that one image is affected whilst an otherwise identical image is not.
Reason 2: Images Are Out Of Focus
Smartphone cameras generally have a wide focal area, and will automatically focus on the most prominent area in the frame. If you always let your iPhone camera auto focus, you are leaving the outcome of your photos to chance.
I’m sure you’ve taken photos where your dog is blurry and the couch behind him is sharp. This is because you’ve left your iPhone to choose what it focuses on, and the most prominent area in the frame is your couch.
Simple Solution:
Always Set The Focus Yourself.
- To set your focus, tap the screen on the part of the image you want to be in focus. Your iPhone will take care of the rest.
- Ensure the important parts of your image are in focus by tapping on them.
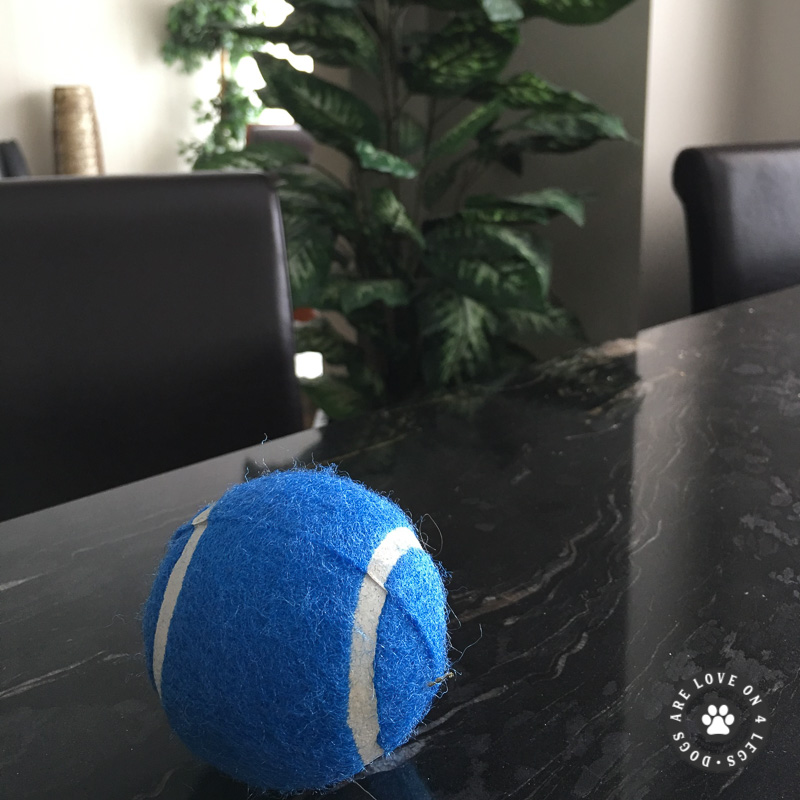
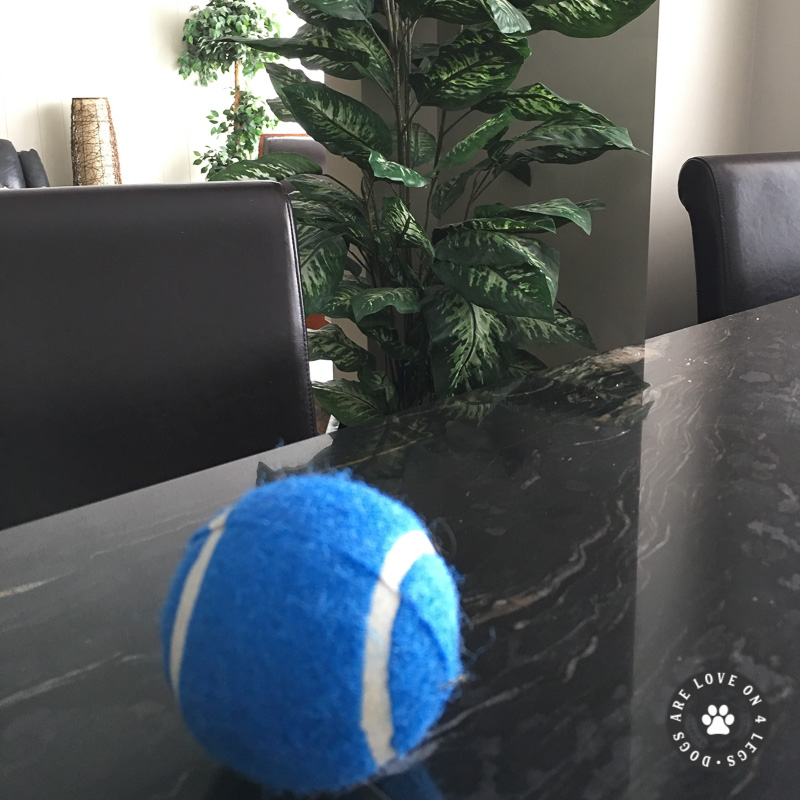
In the pictures above you will see that the left photo is focused on the tennis ball, and the background is blurred. The right photo is focused on the background, and the tennis ball is blurred. As the tennis ball is the most important part of this photo, I tapped the screen (on the tennis ball), to ensure that my iPhone focused on the ball and not the background.
The really annoying part however, is that the iPhone will automatically try and change the focus if anything changes inside the frame. This can be particularly frustrating when you’ve set your focus perfectly , and your dog moves!
The solution is to lock the focus. This prevents your iPhone from refocusing when things change in the frame. To lock the focus (and exposure), hold your finger on the screen where you want to focus, for a few seconds. A yellow box, with AE/AF LOCK written in it, will appear when the focus is locked. To exit focus lock, simply tap the screen again.

Reason 3: Motion Blur
Motion blur is similar to camera shake, in that it occurs when there is movement while the shutter is open. The difference is that motion blur refers to movement of the subject itself.
It is more common in low light settings, and so the obvious solution is to increase the amount of light, keep your camera steady, and ask your dog to stay still! However, this is not a very practical solution as dogs don’t tend to be most patient of models.

Simple Solution:
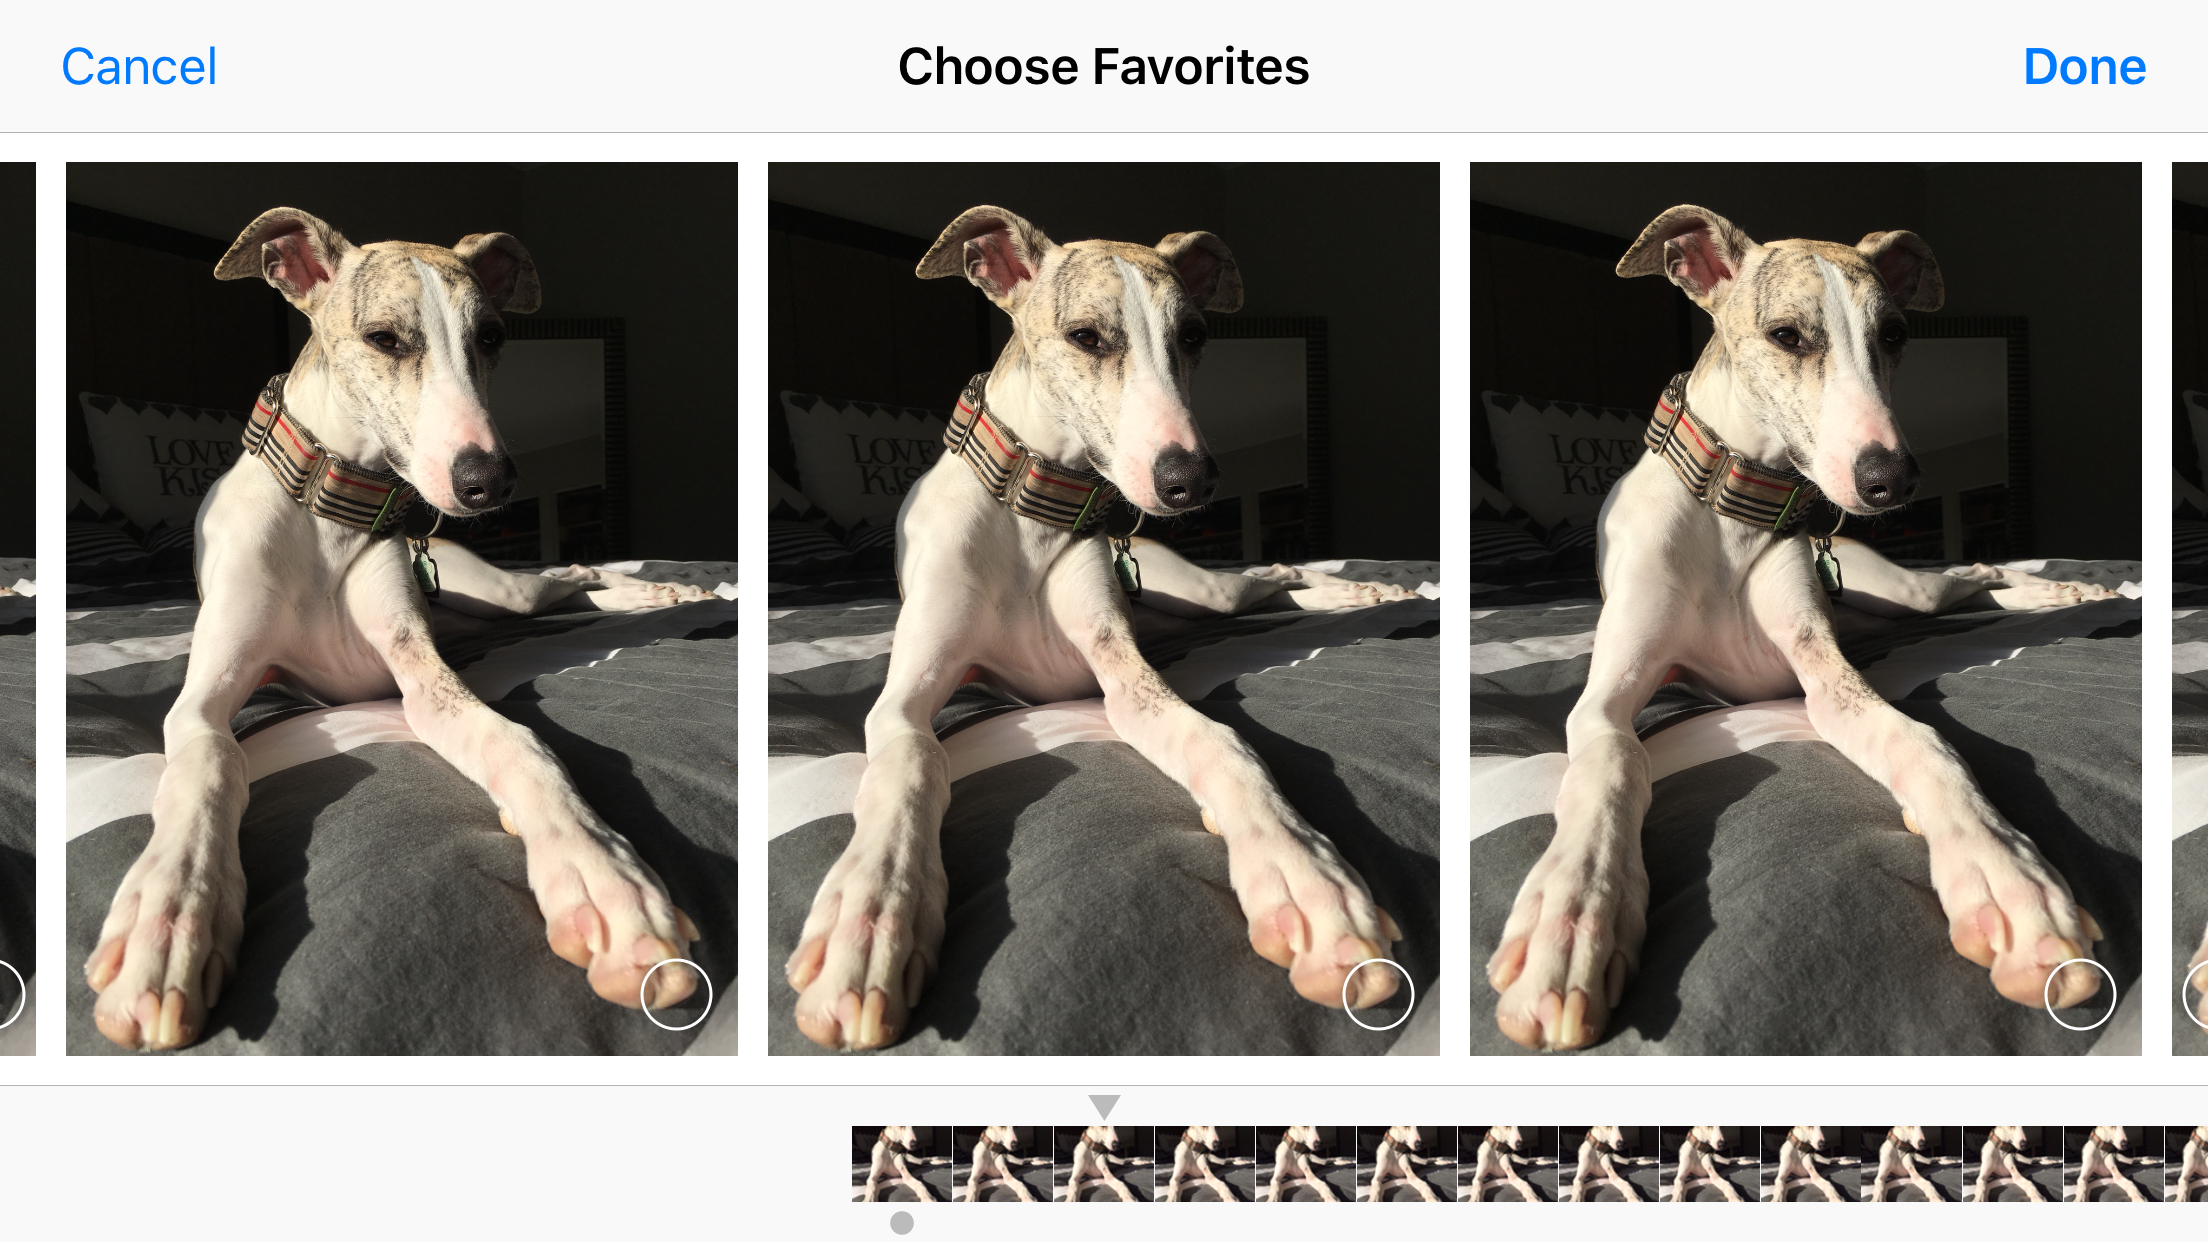
Use Burst Mode.
- Burst mode captures a rapid sequence of images in quick succession. (up to 10 per second with the iPhone).
- Hold your finger down on the shutter button to activate “Burst Mode”. You can then choose your favorites from the multiple images taken.
- Taking multiple images in “Burst Mode” increases the chance of getting a great photo with a moving dog.
Reason 4: Low Lighting
Taking a photo in low light, combined with a shaky hand, or a moving dog, is a sure fire way to get blurry photos.
Low light means that the camera’s shutter has to remain open longer to capture as much light and detail as possible. Any movement tn the frame while the shutter is open, will result in blurry photos.
Simple Solution:
Find The Light.
- To minimize the chance of blurry photos, position your dog in a well lit are, or near a window where you can take advantage of natural light.
- Ensure you keep your camera steady.
Have fun trying these tips and experimenting with your photos. I hope that they help change your photographs from blurry photos, to awesome photos.
What is your biggest challenge with taking blurry photos? Share below, we love to hear your thoughts and ideas.