There is nothing more precious to a dog parent, than a photo that captures the love of their dog. Especially after their pup is gone!
As simple as that sounds, taking no fuss, everyday photos, that are original, natural and definite “keepers”, is often harder than it seems.
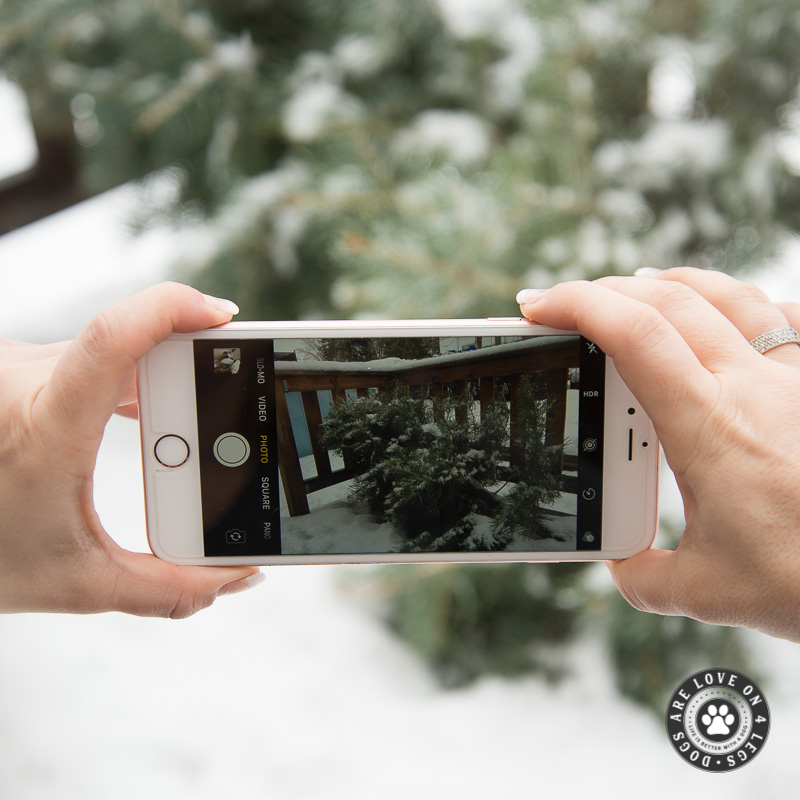
The great news is that taking photos that create a forever memory of your dog, doesn’t have to be expensive or difficult. It can be done with something you own already, and probably can’t live without, your phone!
Let’s face it, you probably already take 99% of your dog photos on your iPhone. So why not make them the best that they can be?
To make it simple, and help you, I have put together 8 simple tips that will help you capture the shot you want, and take your iPhone dog photos from “good” to “great”.
1. Use The iPhone Camera Shortcut
How many times have you seen you dog do something SO adorable, but by the time you got your iPhone camera out, the moment is gone?
I can’t count how many time this has happened to me.
The reality is, you never know when your dog is going to do something funny or cute. Unlike humans, who we can ask to sit and smile, with our dogs, we are completely at the mercy of “being at the right place, at the right time.”
If you don’t have your camera ready at that exact moment; it will be gone forever!
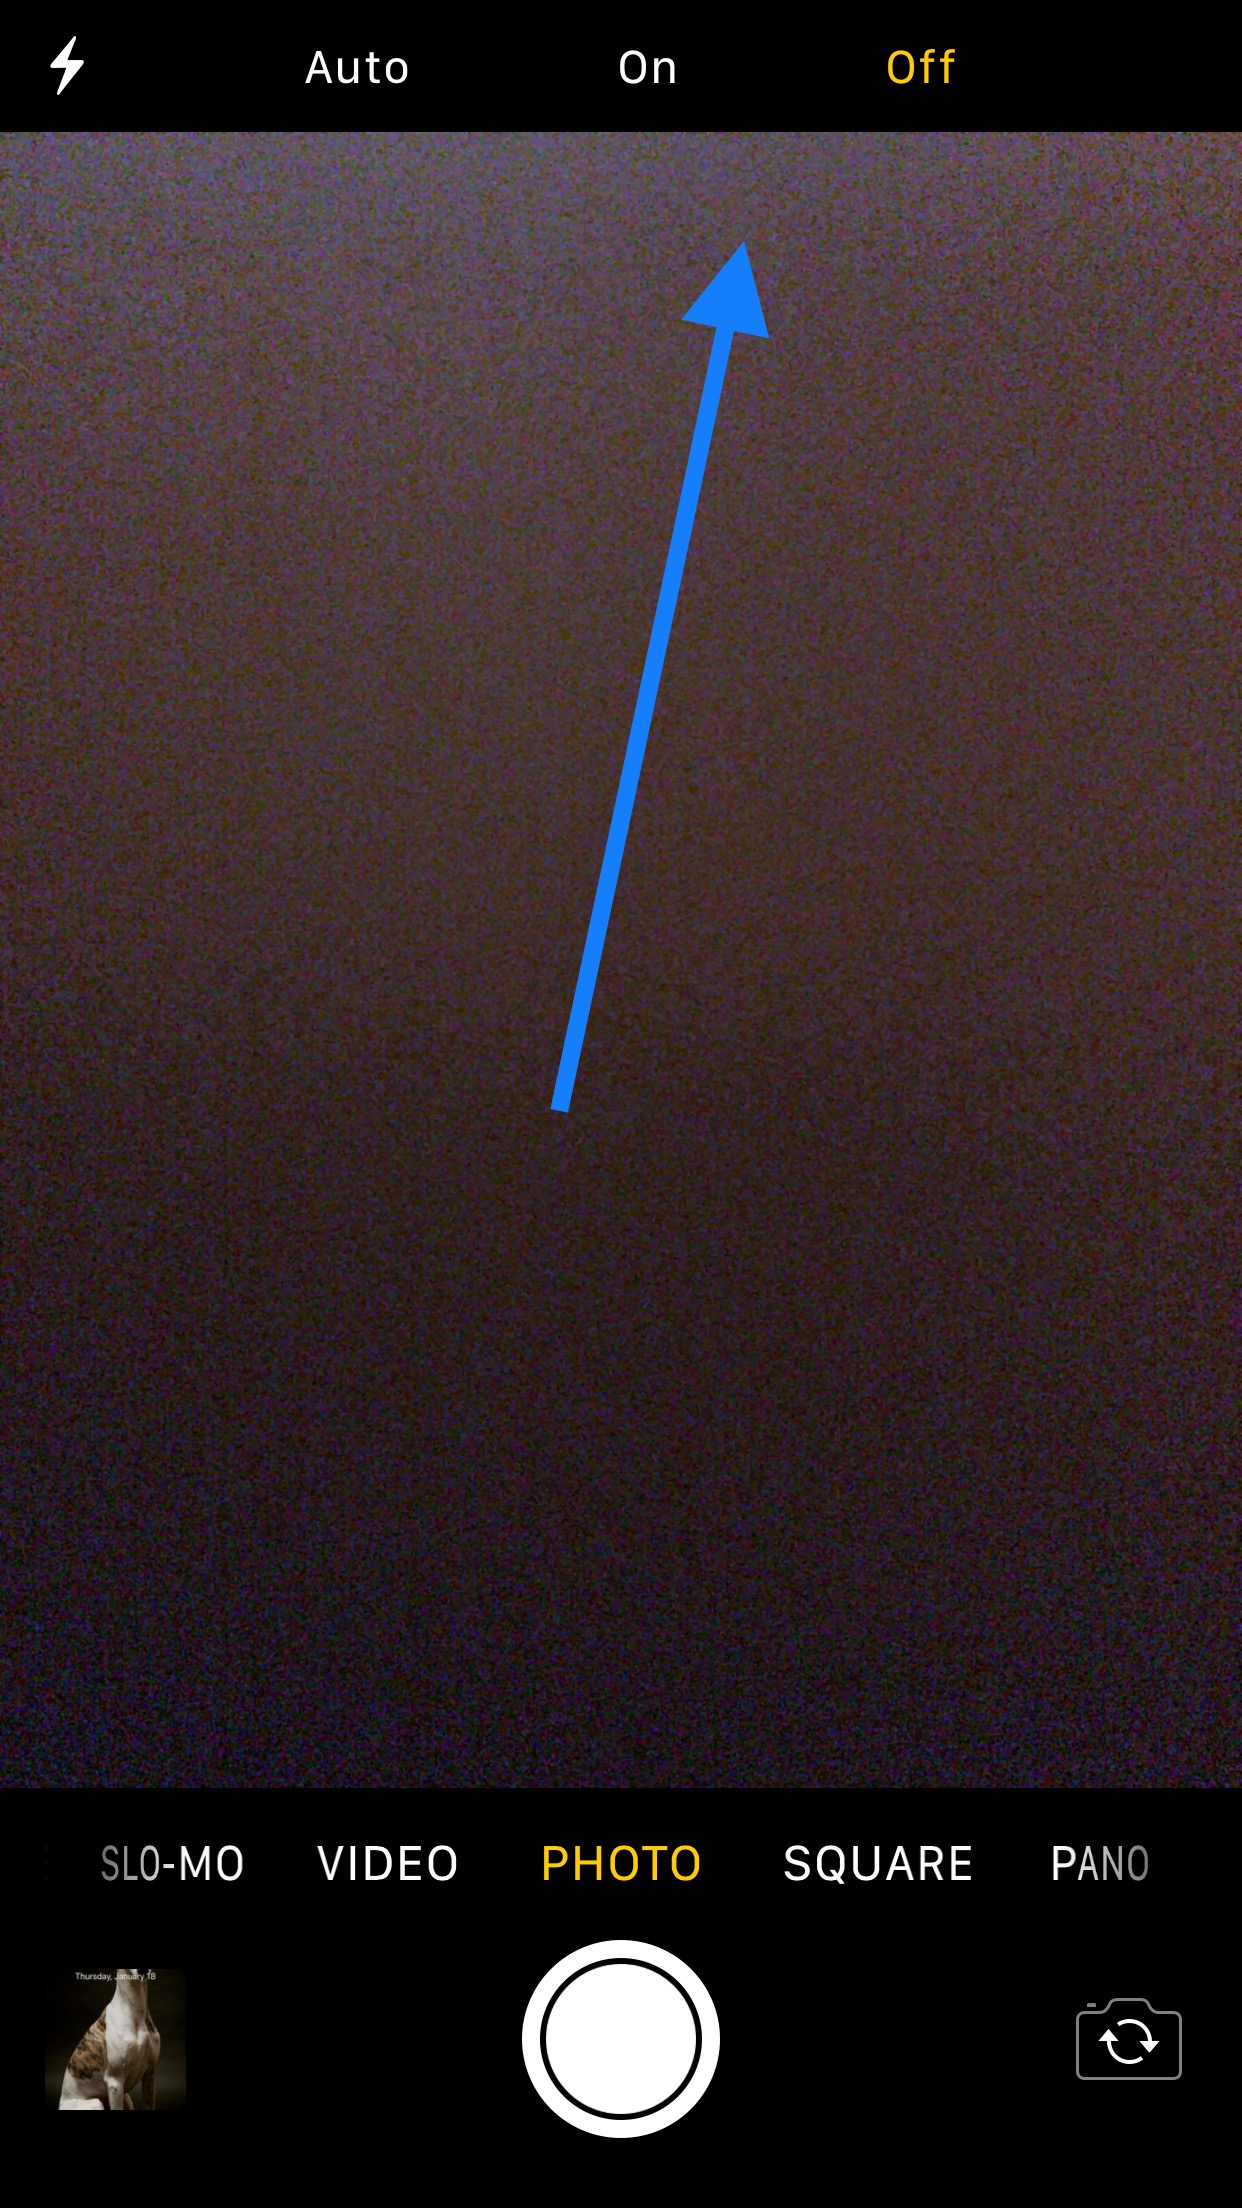
Well, the iPhone iOS 10 can help you with that! By using the iPhone Camera Shortcut, you can instantly access your camera, and be ready in a split second.
It’s as simple as:
- Tap the Home or Sleep/Wake Button to wake your phone up.
- From the Lock Screen, Swipe Left.
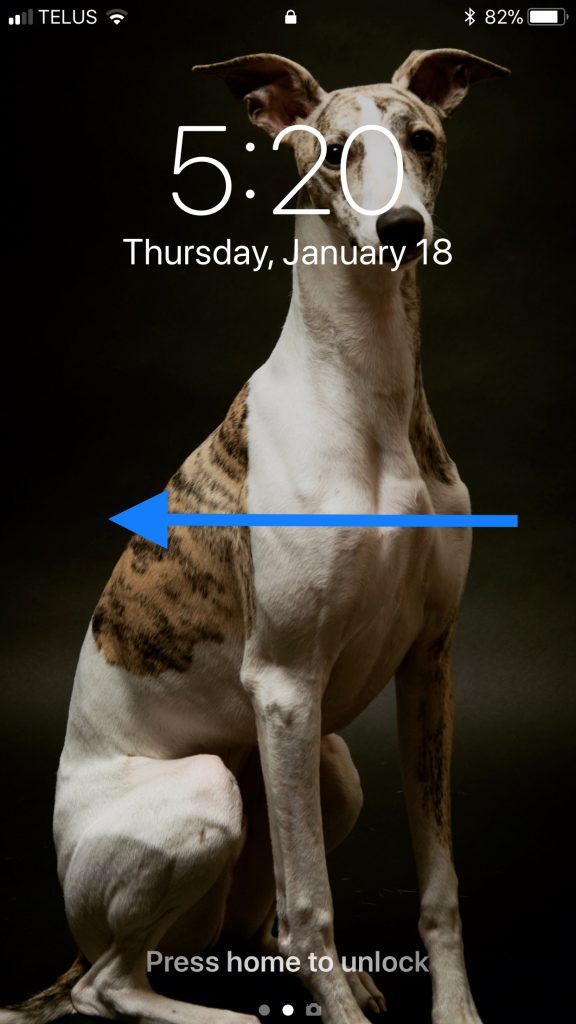
The camera will now open and you are ready to shoot great iPhone dog photos!
2. Follow The “Rule Of Thirds”
What is the “Rule of Thirds” and why should I follow it? I hear you ask!
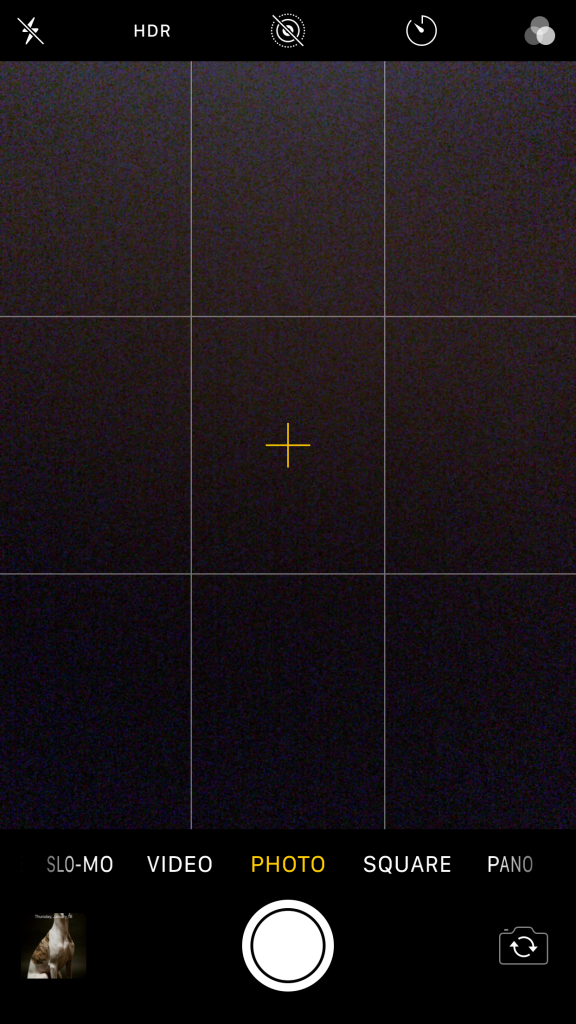
The “Rule Of Thirds” is a simple theory that helps you take a better, more dynamic, and definitely more professional, looking photo. It is based on a grid of 9 squares, with intersecting horizontal and vertical lines.

The theory says that by placing points of interest at the intersections of the lines, or along the lines, your photo becomes more balanced and interesting.
You can use the lines of the grid to help guide you when you are setting up your shot. By turning on the “Grid” option on your iPhone, you will see the grid lines on your screen.
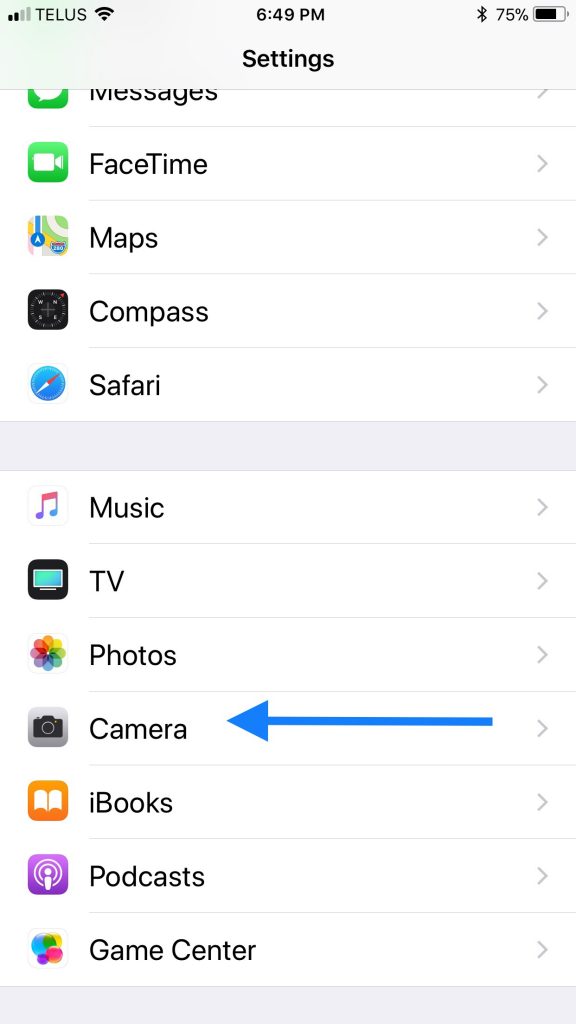
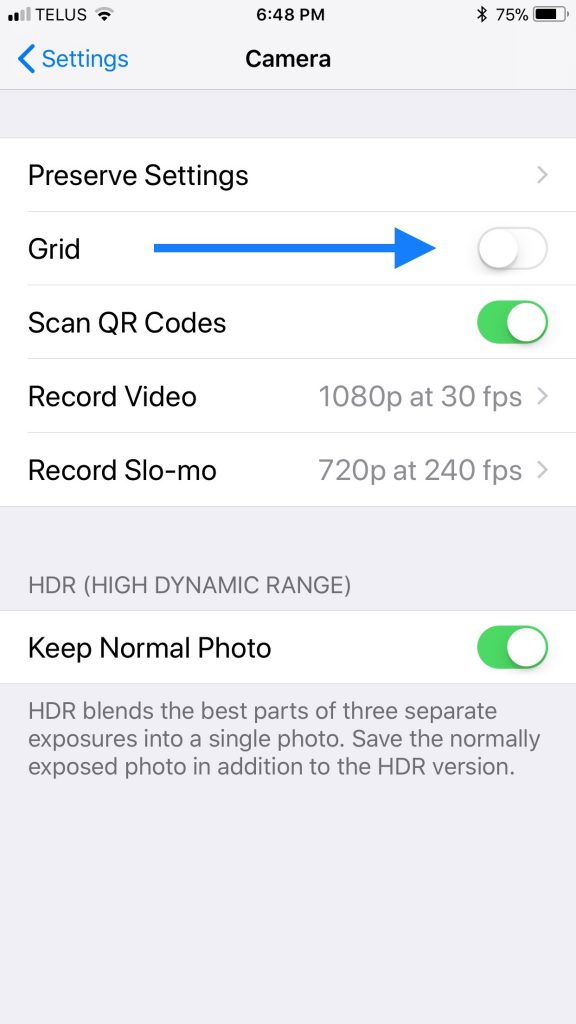
To turn on your grid lines:
- Open the “Settings” App
- Scroll down to, and tap on “Camera” (You may have to scroll quite a way down)
- Tap the switch next to “Grid” to turn it on.
You may find that some of your photos look good with your pup dead center in the picture, but to take your iPhone dog photos to a new level, and make them great, use the “Rule of Thirds”.
3. Shoot From Different Angles
If you look at the majority of your iPhone dog photos, you will probably find that they have been taken at chest height of a standing adult.
Naturally when we want to take a picture of our dog, we pull out our phone and start shooting. Most of the time we will be standing, or sitting, because that’s most convenient.
If we always stand, or sit, to take photos of our dog, it inevitably means we are looking down on them.
We may get some good photos that way, but to take a “great” photo of your dog, get down to their level, and shoot the world how they see it. Your photos will automatically get more interesting and intriguing as you show the world from your dog’s perspective.
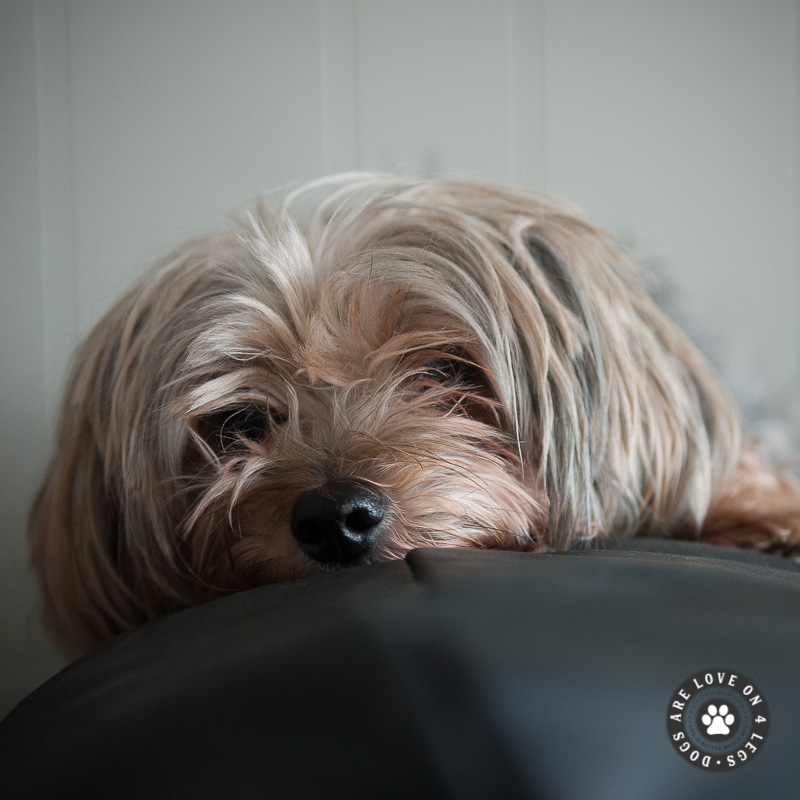
Try different angles, get down on the floor, or into awkward places. Experiment with shooting different angles of your dog. It doesn’t cost a penny, and you might be surprised with the images you get.
4. Zoom In With Your Feet, Not Your iPhone Camera
Try to avoid using the zoom on your iPhone Camera. If you want to get a closer shot of your dog, actually walk up closer to where they are siting or standing.
Your photo loses quality when you use the zoom setting on the iPhone camera, resulting in an image that is more grainy and pixelated.
To keep your image quality as high as possible, use your feet, not your phone to zoom in.
5. Take A Few Shots Of The Same Thing
The great thing about digital photography is that it doesn’t matter how many pictures you take, and how many mistakes you make. You can always delete them later.
The only limitation you have is the storage on your phone.
I have found that by taking several shots of the same thing, you are much more likely to get a great one.
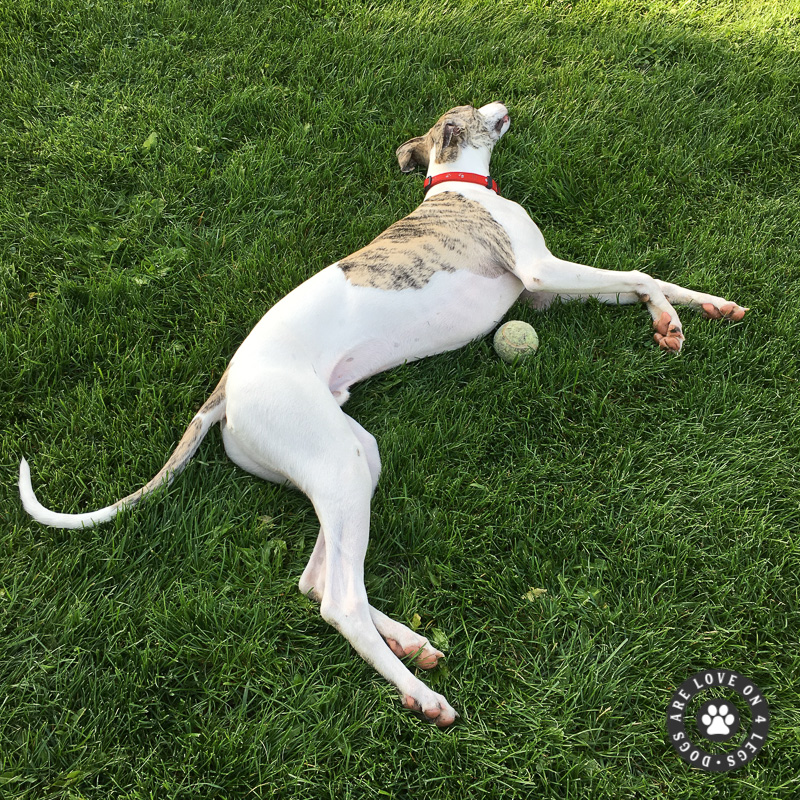
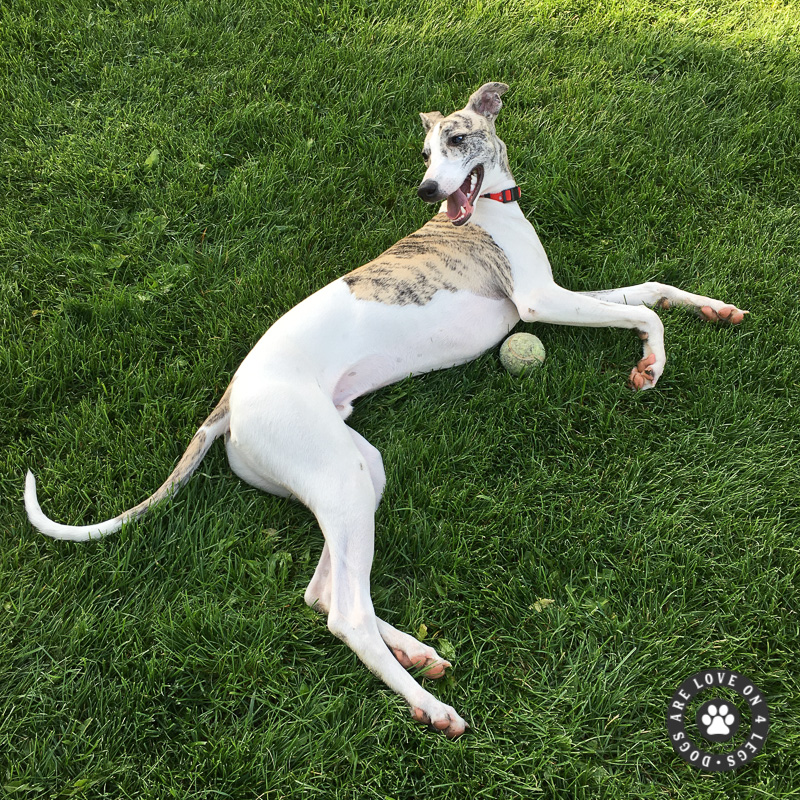
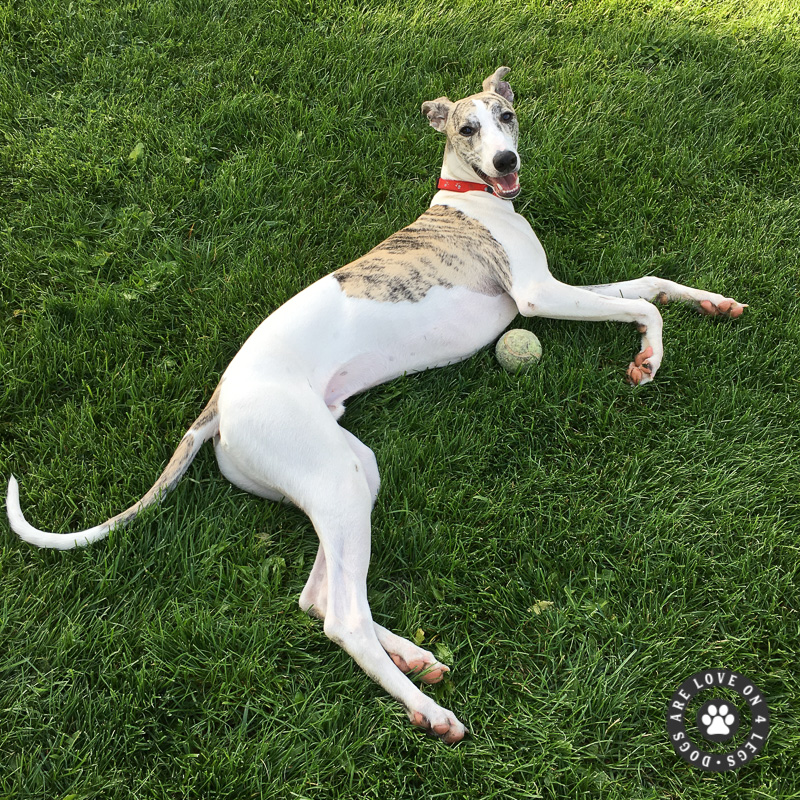
Dogs are very unpredictable. Their expressions, body language and behavior can change in a split second. By taking several shots you are more likely to capture the shot you want, and you have a variety of options to choose from.
6. Use The Volume Buttons To Take Shots
Did you know that you can use the “Volume Buttons” on the side of your iPhone to snap a photo?
Many people don’t, and to be honest it’s a game changer.
I know from experience that trying to hold your iPhone, get your dog’s attention, and get your finger in a position to tap the camera button on the screen, is harder than it sounds.
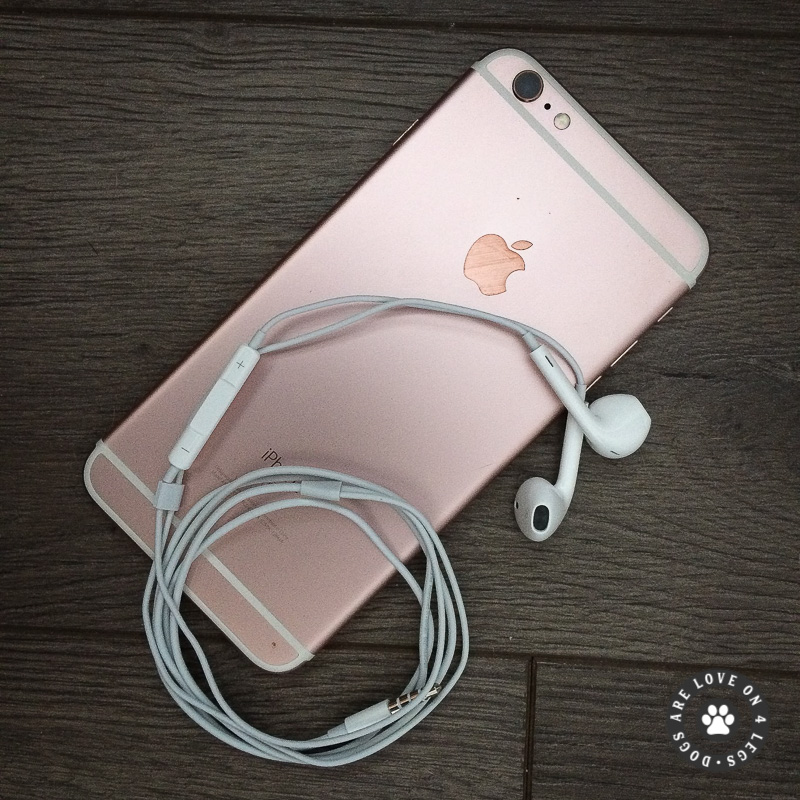
Using the volume buttons on the side of your phone makes it much easier to handle. This also works with your headphones that come with a control module that includes volume buttons. These volume buttons can also be used to trigger the camera shutter.
7. Turn Off The Flash
Do you have photos of your dog with “green” or “yellow” eyes? Most of us do at some point.
Green/yellow eyes occur when your camera flash is aimed directly at your dog’s eyes. They are the dog equivalent of red-eye in humans.
Turn off your flash and use natural lighting as much as possible.
If you really must use your flash, ensure you are shooting from the side, and the camera is not aimed directly at your dog’s eyes.
8. Clean The Lens
This one may seem a little obvious, but I have to admit I’m guilty of forgetting this simple tip.
Your iPhone lives in your bag, pocket, car, and with your dog! If it’s anything like mine, it’s probably covered in a light dusting of dog hair, and seen some evidence of a few doggi kisses.
It only takes a few seconds to clean it regularly. Your photos will thank you!
Which of these 8 tips is the biggest help for you, in taking amazing iPhone Dog photos? Comment below, we’d love to hear your thoughts and ideas.